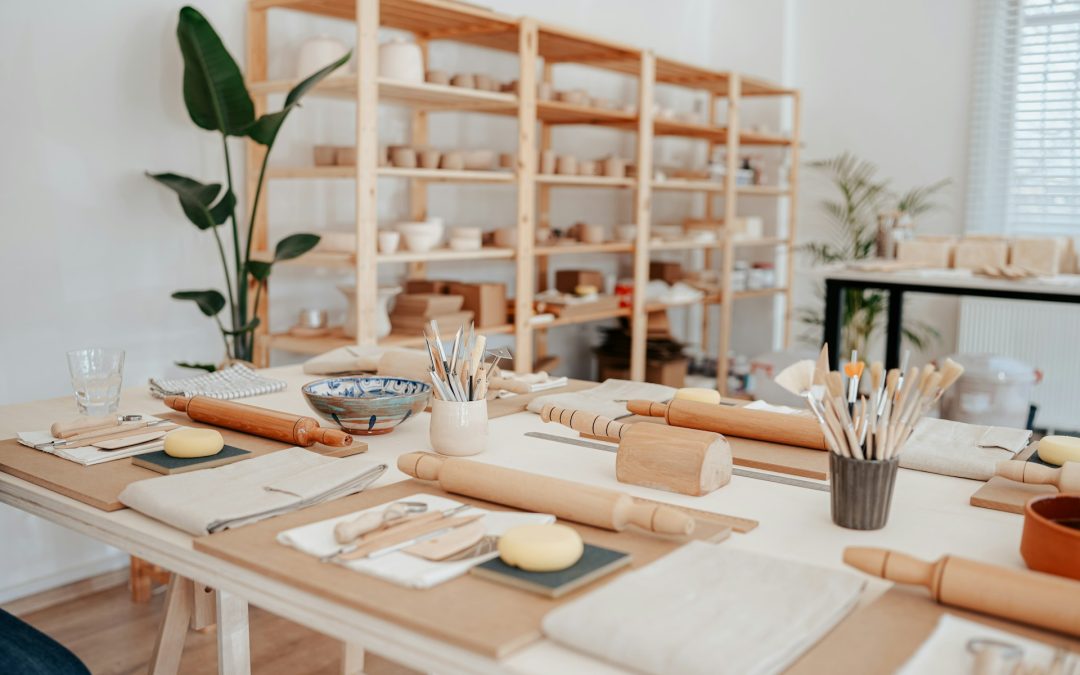
Crafting is a fantastic way to express creativity and relax. However, a cluttered craft area can make the process frustrating. Disorganized supplies can take the fun out of crafting, turning your favorite hobby into a chore. To keep your passion alive, organizing your craft space should be a priority.
Imagine walking into a space where you can easily find every tool, ribbon, or bead you need. A tidy craft area not only looks appealing but also sparks inspiration. It allows you to focus on your projects without distraction. The good news is that with a few simple strategies, you can transform your craft space into an organized haven where creativity flows.
With that in mind, read on as we offer you stress-free tips to declutter and organize your craft supplies. By creating a well-planned layout and utilizing clever storage solutions, you can reclaim your space and enjoy every moment of your crafting adventures.
How to Organize Craft Supplies Without Stress
1. Decluttering and Sorting Craft Supplies
The first step in organizing your craft space is to declutter and sort your supplies. Begin by pulling everything out and assessing what you have. Discard items that are broken, dried up, or that you haven’t used in the past year. This helps reduce the clutter and makes the rest of the organization process smoother.
When sorting through your supplies, group similar items together. Here are some categories you might consider:
- Papers: scrapbook, construction, and specialty papers
- Tools: scissors, glue guns, cutting mats
- Fabrics: cotton, felt, and other textiles
- Beads and jewelry making supplies
- Paints and brushes
Once categorized, decide which items you need immediate access to and which can be stored for less frequent use. This will help you plan how to set up your craft area efficiently.
2. Creating a Functional Layout for Crafting
Creating a functional layout is important to avoid frustration during crafting. Start by positioning your workspace in a spot with good lighting. Natural light is ideal, but task lighting also works well if natural light isn’t available.
Arrange your craft supplies so that frequently used items are within arm’s reach. Use wall space with shelves and pegboards to keep your work surface clear. Pegboards can hold tools, ribbons, or spools of thread, allowing you to easily grab what you need without sifting through drawers or boxes.
Designate zones in your craft area for different activities. For example, set up a sewing station separate from your painting area. This not only keeps each task organized but also limits the spread of materials to only the relevant space. By designing a layout tailored to your crafting habits, you ensure a productive and enjoyable creative process.
3. Utilizing Bins, Jars, and Drawers
An organized craft space relies on effective storage solutions. Use bins, jars, and drawers to keep your supplies neat and accessible. Clear plastic bins are excellent for storing materials like fabric scraps or yarn, so you can easily see what’s inside. Stackable bins maximize vertical space and keep small items from getting lost.
Glass jars with lids are perfect for beads, buttons, and other small supplies. Line them up on a shelf for easy access and a visually appealing display. Drawers, if available, work well for larger items like paper, notebooks, or bulkier tools. Use shallow drawers for paints or tubes of glue, incorporating dividers to separate and organize.
4. Repurposing Household Items for Storage
You don’t have to spend a lot of money to maintain an organized craft space. Repurpose everyday household items to serve as storage solutions. Here are a few ideas:
- Muffin tins: Great for holding small items like pins, clips, or sequins
- Mason jars: Store brushes, markers, or pens upright
- Shoe boxes: Keep your photos or fabric samples organized
- Tension rods: Use for hanging spools of ribbon or washi tape
With a little creativity, you can transform common items into valuable storage for your craft supplies. This approach is cost-effective and adds a personal touch to your craft area, ensuring it remains both functional and inviting.
5. Categorizing Supplies for Quick Retrieval
Having quick access to your supplies can spark creativity and make crafting more enjoyable. Start by categorizing your supplies into groups based on their use. This might include categories like drawing tools, sewing accessories, or scrapbooking materials. Use bins or drawers to house each category, keeping similar items together.
To further simplify access, place categories you use often within easy reach. Hang commonly used tools like scissors or rulers on a pegboard in plain sight. Arrange the categories in the order you use them to streamline your process. When each item has its own home, finding and storing them becomes second nature, allowing you to focus on creating.
6. Using Labels to Simplify Finding and Storing
Labels are a game-changer for any organized space. Clearly labeling bins, jars, and drawers increases efficiency by making it easy to find exactly what you need. Use a label maker or colorful tags to label each storage container with its contents. This system can prevent the frustration of rummaging through bins to locate one small item.
To add a bit of fun and personality, consider using decorative labels or incorporating pictures for categories if you share the space with kids. This visual system not only simplifies finding supplies but also encourages putting things back in the right spot, keeping your craft area tidy after each project.
7. Establishing a Clean-Up Routine
Maintaining an orderly craft area requires a simple yet consistent routine. Develop a habit of cleaning up at the end of each crafting session. This involves putting all supplies back in their designated areas and discarding scraps or packaging. Even a quick five-minute tidy-up can make a significant difference in maintaining order.
Regular checks will help ensure that no items are missing and everything remains in top condition. Set aside time weekly for a more thorough cleanup, addressing any spots that might have become cluttered. This routine helps sustain the organization you worked hard to achieve, making each crafting occasion more enjoyable.
Conclusion
Crafting can be a delightful escape from the everyday hustle. An organized space invites inspiration, allowing you to fully immerse in your projects. Focus on turning your craft area into a sanctuary where ideas come easily, and projects can flourish. Embrace the joy of crafting in an environment perfectly tailored to your needs.
If your craft space is in need of a little TLC, reach out to Where Style Meets Order for expert advice and tips. Our home office organizers will help you create a functional, beautiful area that unleashes your creative potential. Transform your craft room into an organized haven where style meets practicality today!